


STEP 3: Milk frothing and latte art
The perfect milk has no large air bubbles and is completely dense. This is called microfoam and provides a really good drinking experience.
Steaming milk is about 2 things:
- The milk volume should increase slightly so that the drink has some foam.
- The milk must be heated so that the coffee drink is lukewarm.
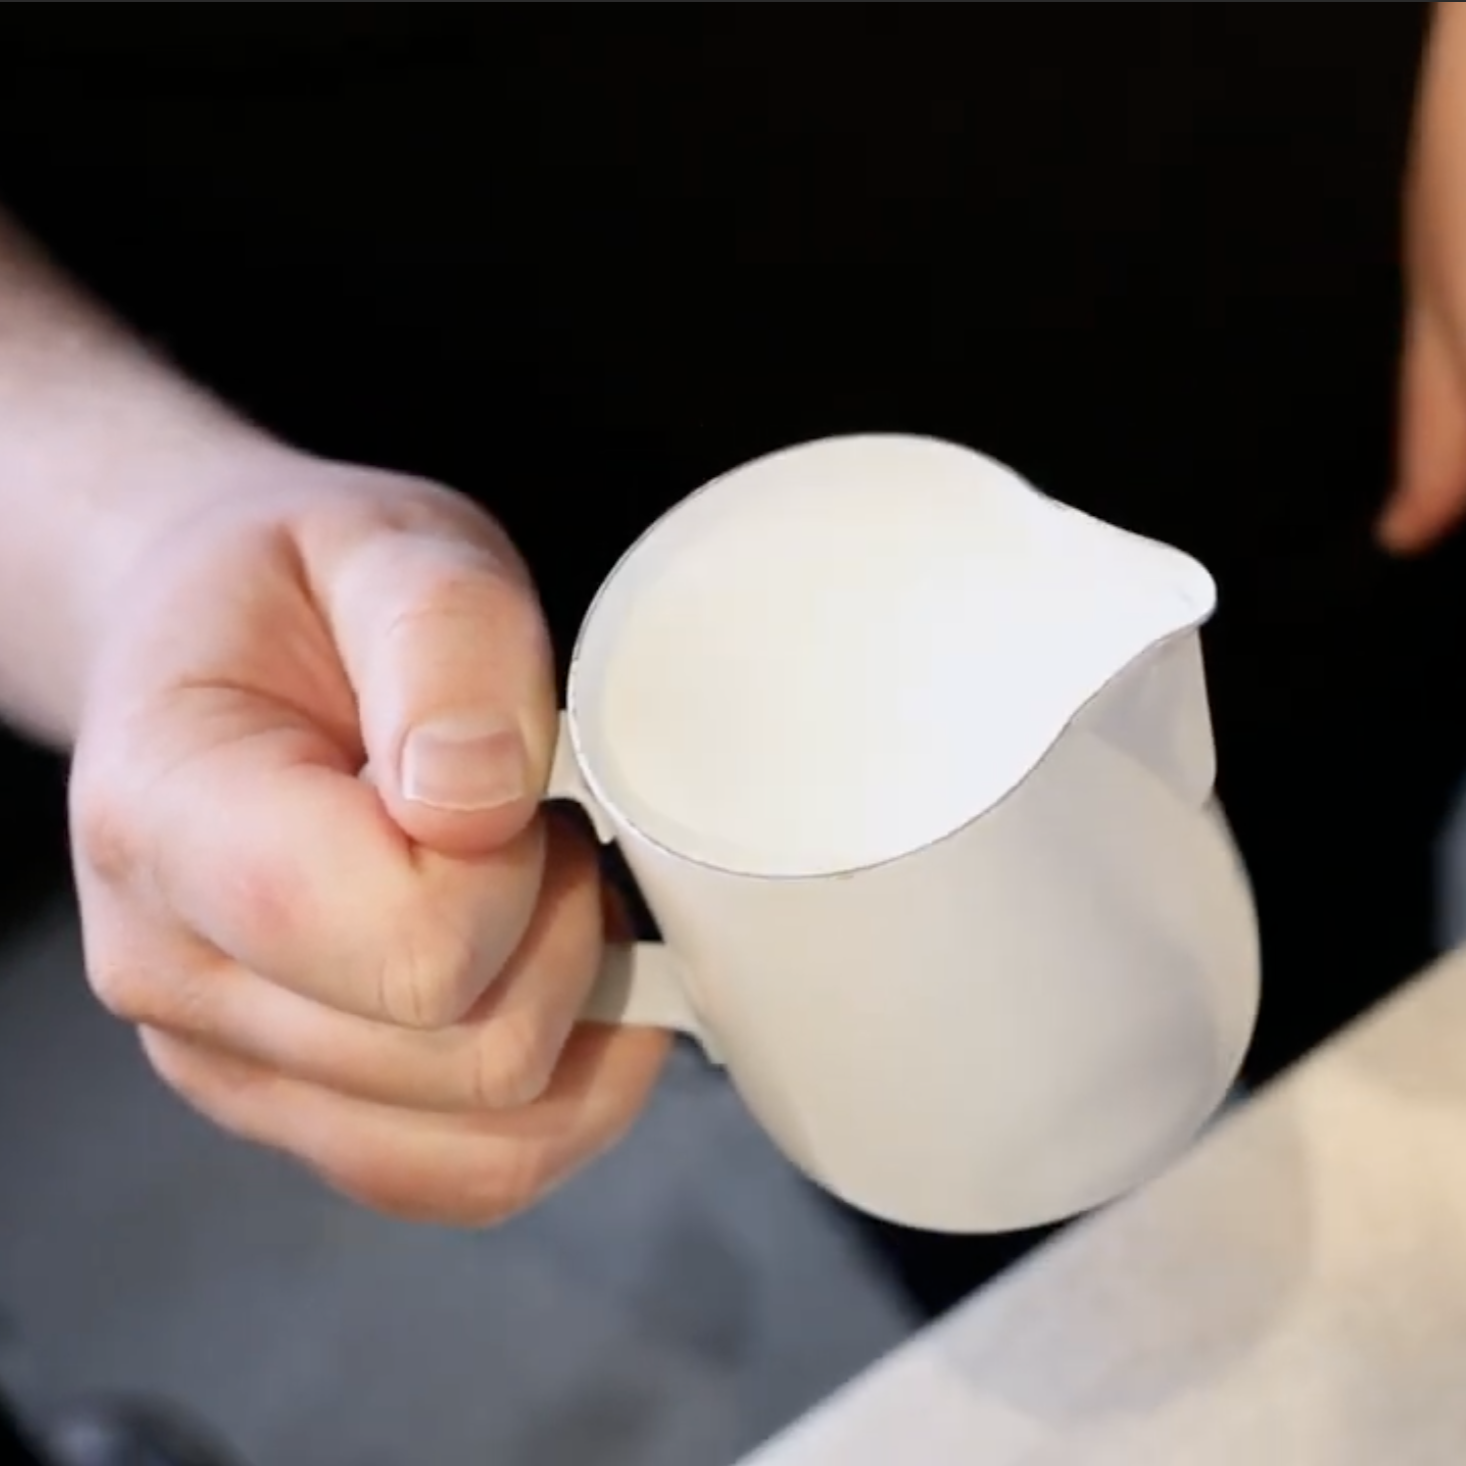
Fill a milk pitcher with milk up to where the spout starts - this is typically the optimal place. It's about finding the right amount. We need enough milk for the coffee, but not so much that we have milk left over and waste it.
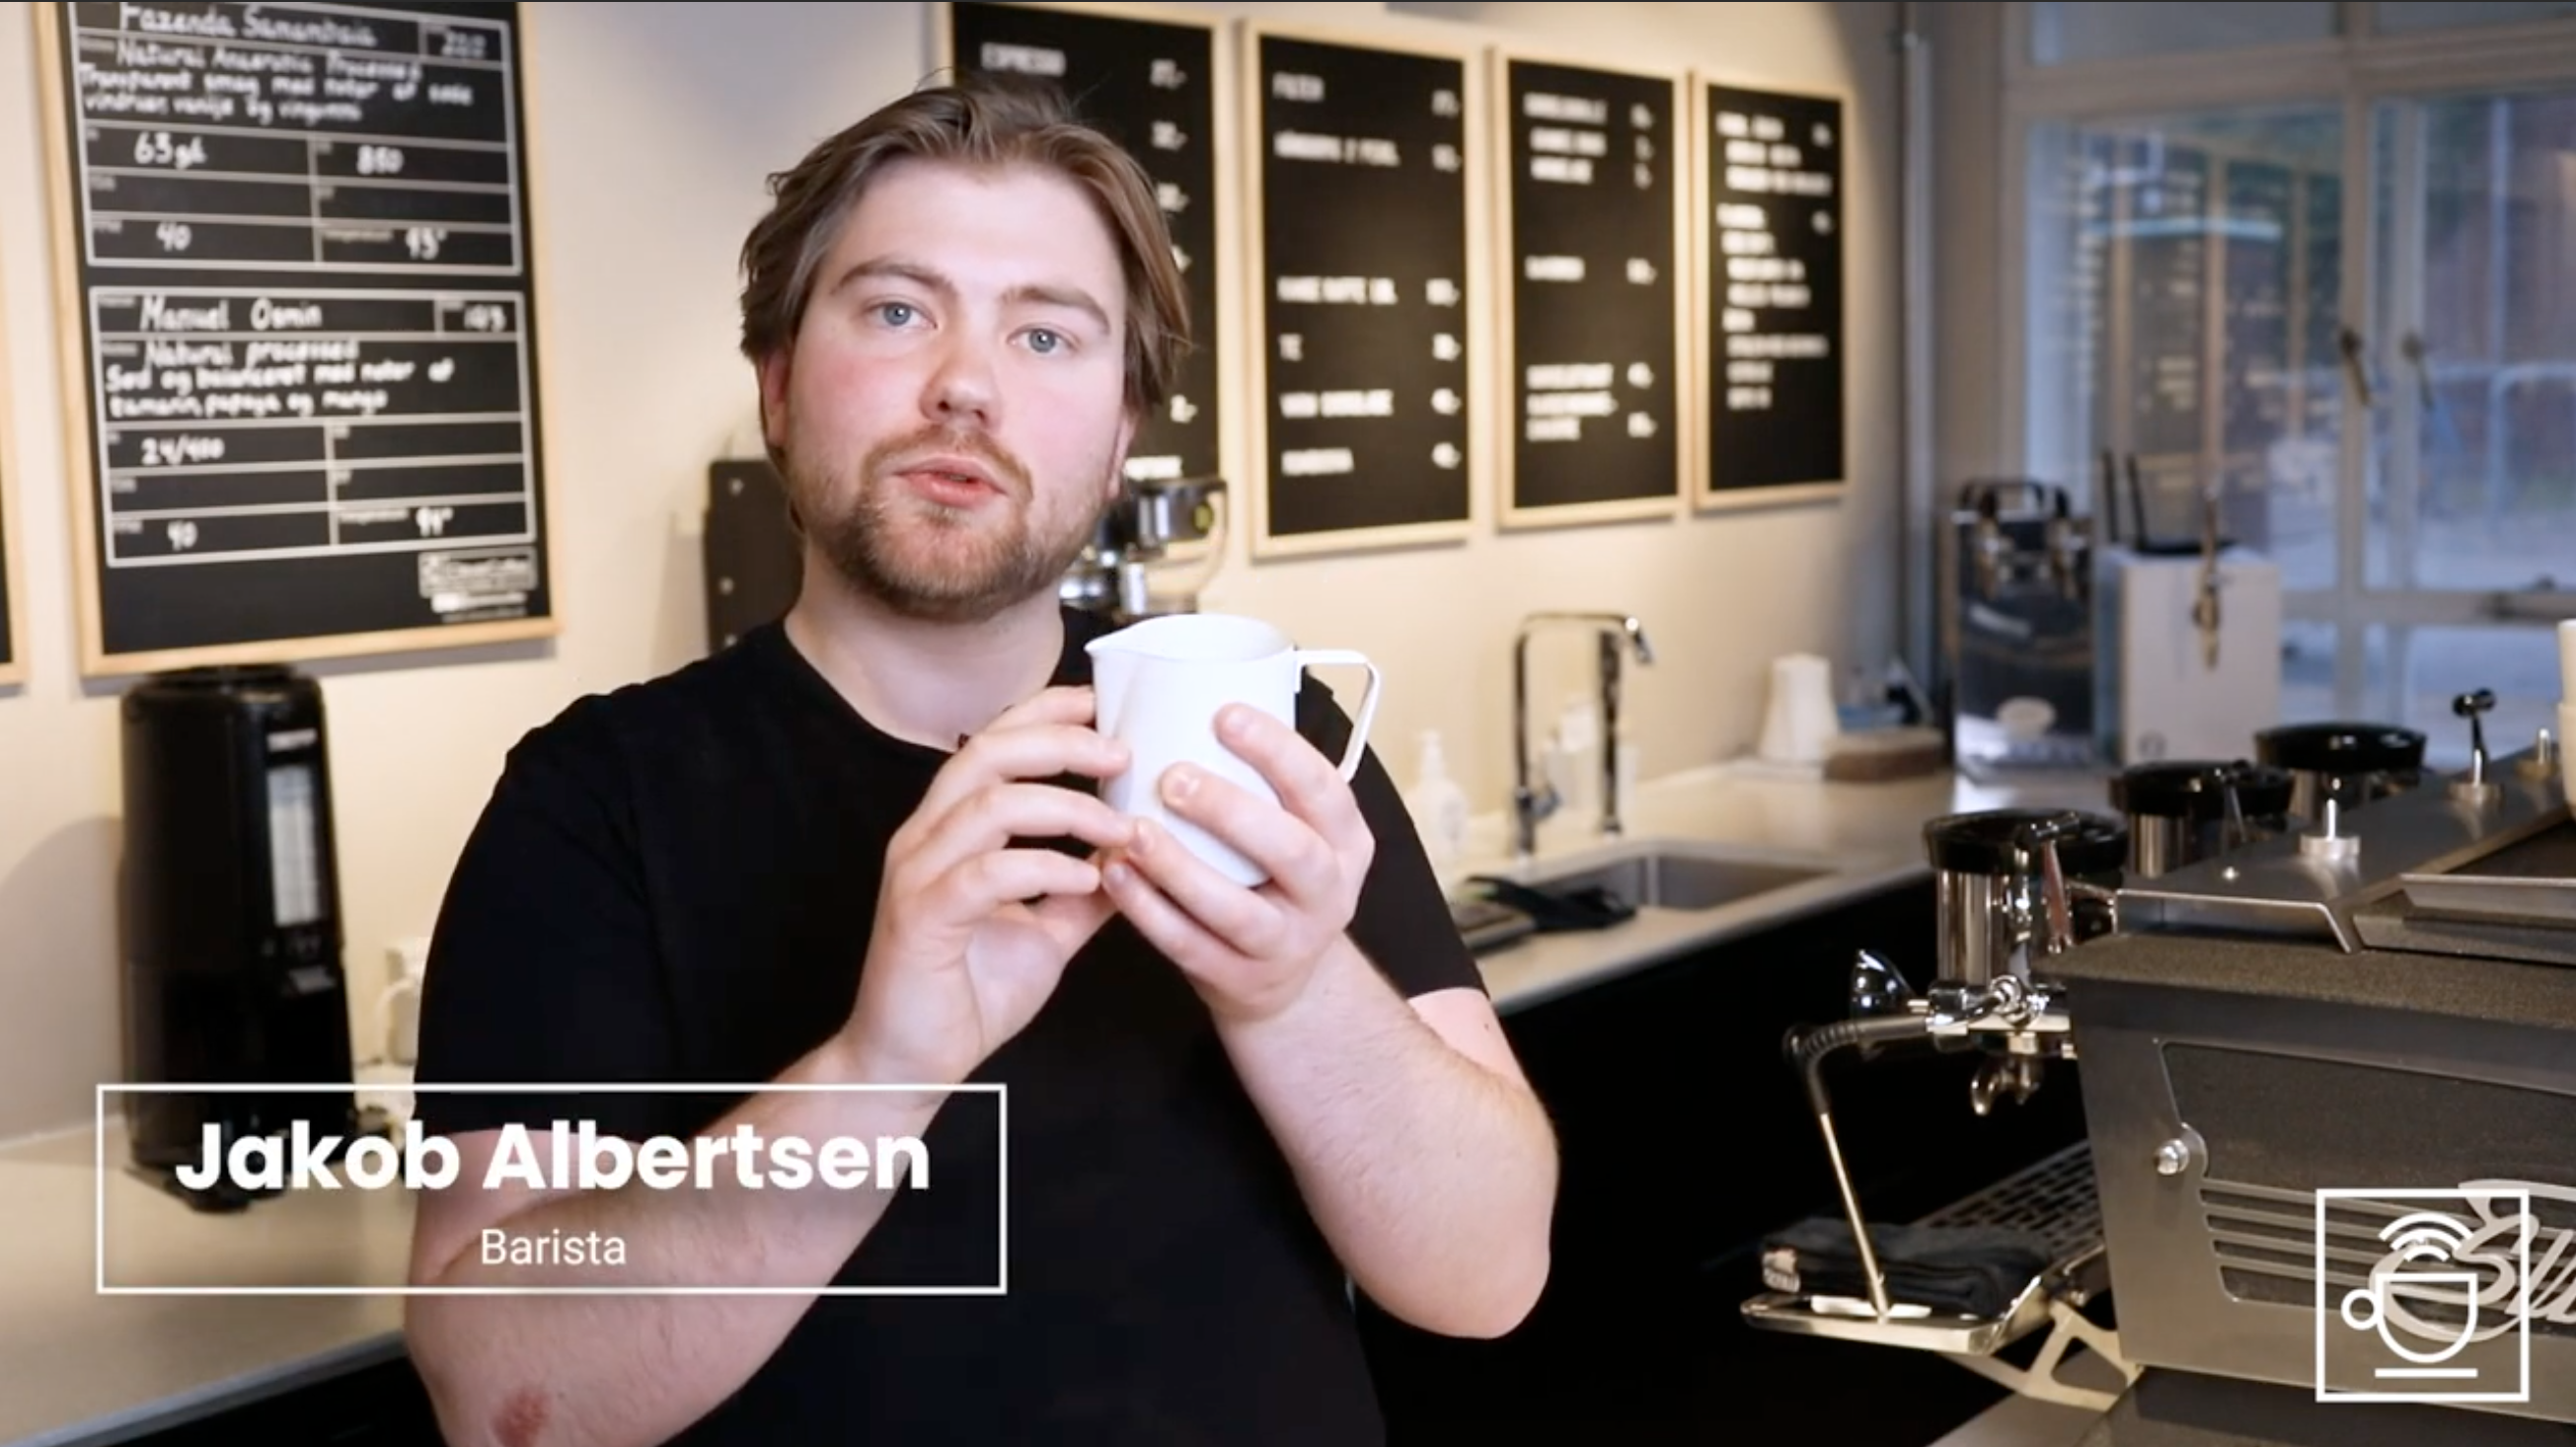
Listen to Jakob talk about milk frothing:
Milk frothing: Step-by-step
We want our milk to have small bubbles - what we call microfoam . Large bubbles, on the other hand, do not collect coffee flavor in the same way as microfoam. Instead, they give the drink a slightly grittier feel and less coffee flavor.
Ideally, you want to create as small bubbles as possible in the milk. You do this by rotating the milk as it is steamed. When air is taken into the milk during steaming, the rotation causes the air bubbles to break and become smaller. This creates microfoam.
Temperature
The milk should not be too hot. If it gets above 65 degrees, it will often taste like rice porridge. This is not an optimal taste for the coffee. 60 degrees is an optimal temperature: Here the milk is sufficiently warm and at the same time sweet. Then it compliments the coffee well. 60 degrees is reached approximately at the point where the skin can no longer touch the pitcher. When the pitcher feels too hot to touch for a second or two, the milk is around 60 degrees, and steaming should be interrupted.
Another important temperature point is the moment when the pitcher starts to feel warm - around body temperature - in your hand. When you reach this point, no more air should be added to the milk. At this point, you are above the temperature of the milk protein that creates the air in the milk, and instead large bubbles are created in the milk.
So: Keep an eye on when the pitcher reaches body temperature and when it becomes too hot to touch.
Milk types
At CleverCoffee we use organic whole milk in our coffee drinks. You can also use other types of milk. However, we recommend that you do not use milk with a lower fat percentage than skimmed milk, as it will be more difficult to work with.
Also remember to keep the milk refrigerated. It stays fresh and is also easier to froth when it is cold.
Placement of the pitcher
Find the center of the milk pitcher with the steam arm and then tilt the pitcher slightly to the right or left. The steam arm is now positioned between the center and the side of the pitcher. This helps to ensure that the milk rotates in the pitcher and breaks up the bubbles.
The sound of real steamed milk
At the beginning of steaming the milk, we need air to come in. It should sound like paper being torn. This means that small amounts of air will come in at a time, which we can work out. If instead you hear a large blast of air, the pitcher is being held too far down in relation to the steam arm, and should be raised a little. If there is no paper sound, but more of a screeching sound, the pitcher is being held too high and should be lowered a little.
Ideally, the pitcher should be held where you can hear the sound of paper being torn until the pitcher is at body temperature. Then the pitcher is raised slightly so that no more air gets into the milk. It then rotates in the pitcher until it is hot enough - the moment when we can no longer hold the pitcher and the milk is approx. 60 degrees.
Jakob froths milk
Start by letting out a little steam from the steam arm to get rid of condensation.
Position the steam arm at an angle of approximately 30 degrees. Then position the pitcher optimally by first finding the center and then turning the pitcher slightly to one side.
Listen for the sound of the paper and lower or raise the pitcher as appropriate. Raise the pitcher when it reaches body temperature. Remove the pitcher when it becomes too hot to touch.
Always dry the steam arm well immediately and let some air out again.
The result is a nice, warm milk without large bubbles on the surface. It is shiny and reflects the light. It can then be poured into the espresso.
Plant-based alternative
Of the plant-based alternatives to whole milk, we at CleverCoffee have the best experience with oat milk. Be careful not to use a milk that reacts too strongly to the acidity of the coffee. This could cause it to separate slightly.
The process of steaming the milk is the same. However, you can use a little more air and close it into the milk a little faster - that is, have the steam arm lowered into the milk for a little less time. This should give a nice creamy experience, also with oat milk or pea milk.
Listen to Jakob talk about latte art:
Latte art: Step-by-step
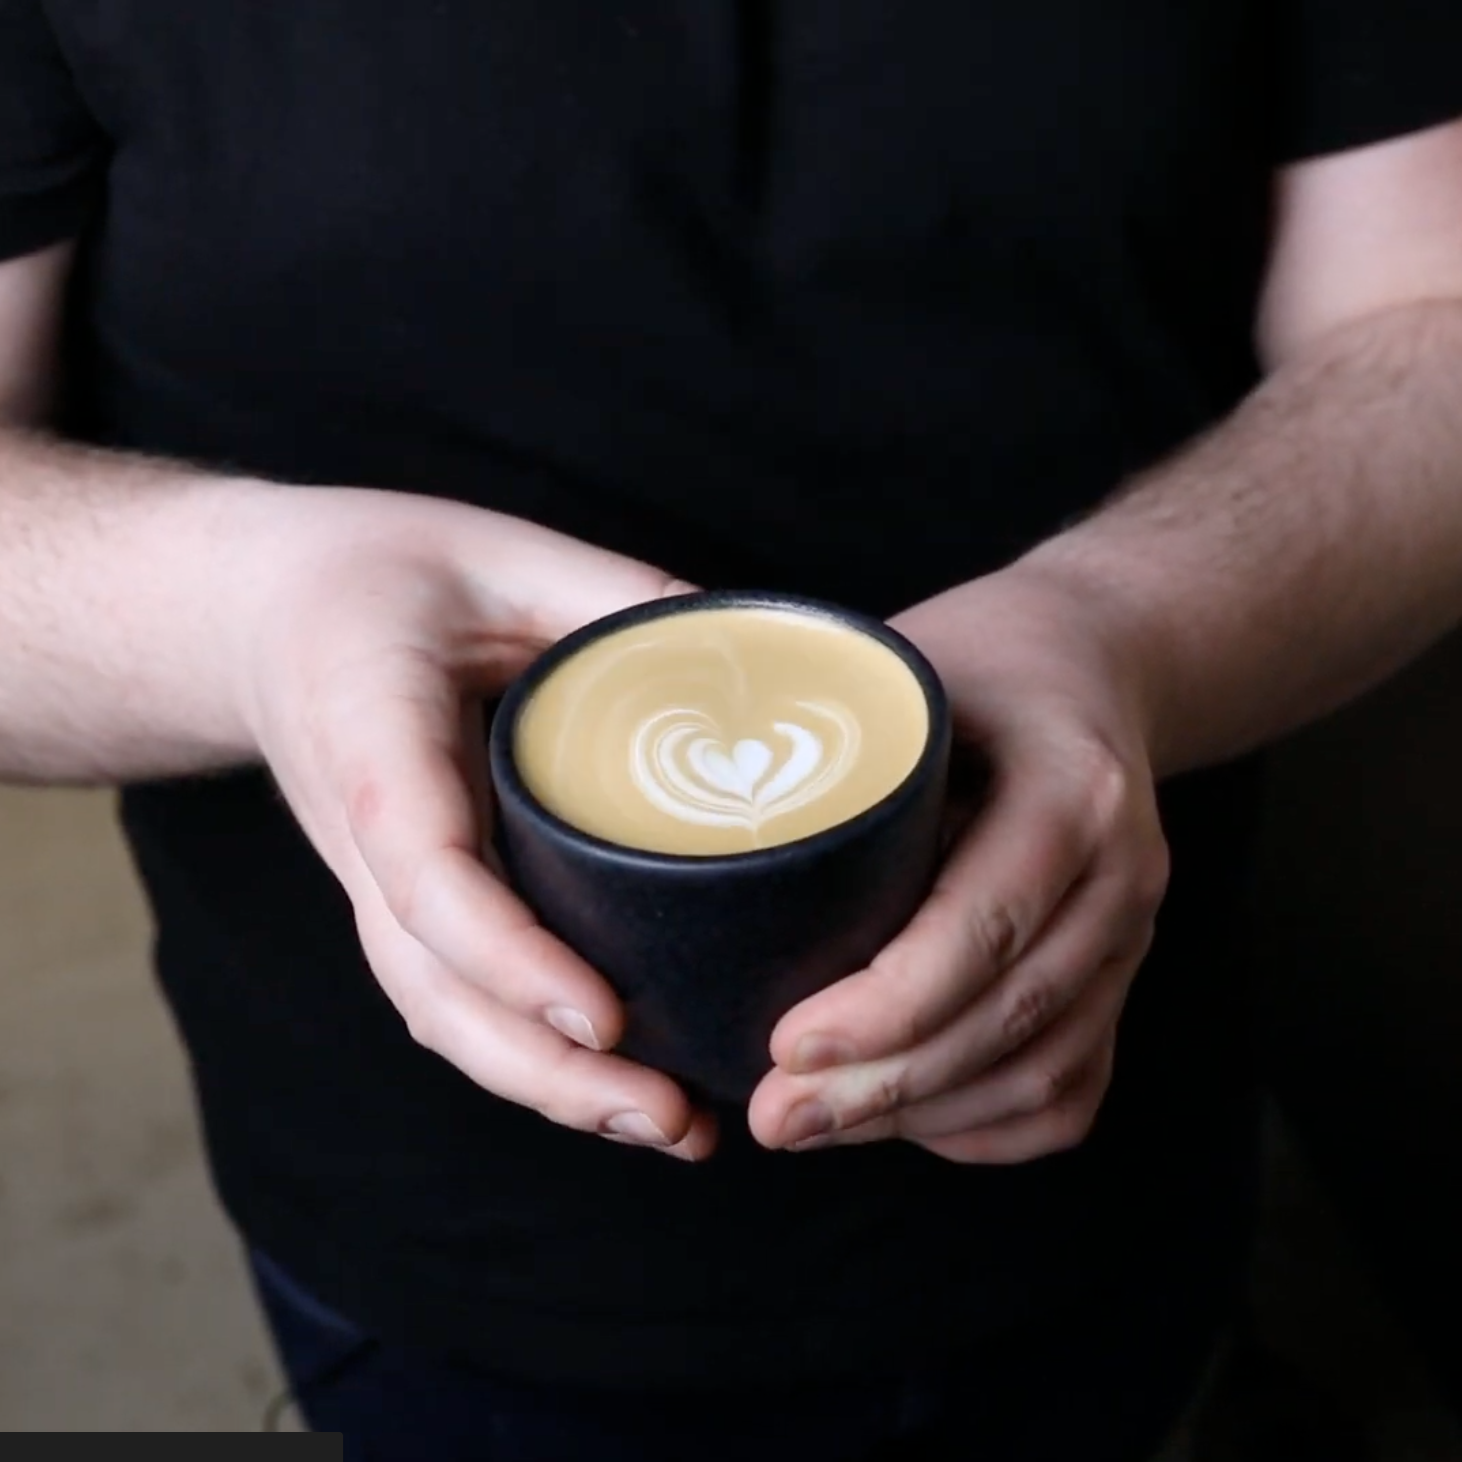
Latte art is like a food garnish: It's our way of telling our guest that the cup they're about to drink tastes delicious.
The prerequisite for good latte art is a perfectly brewed espresso and perfectly steamed milk.
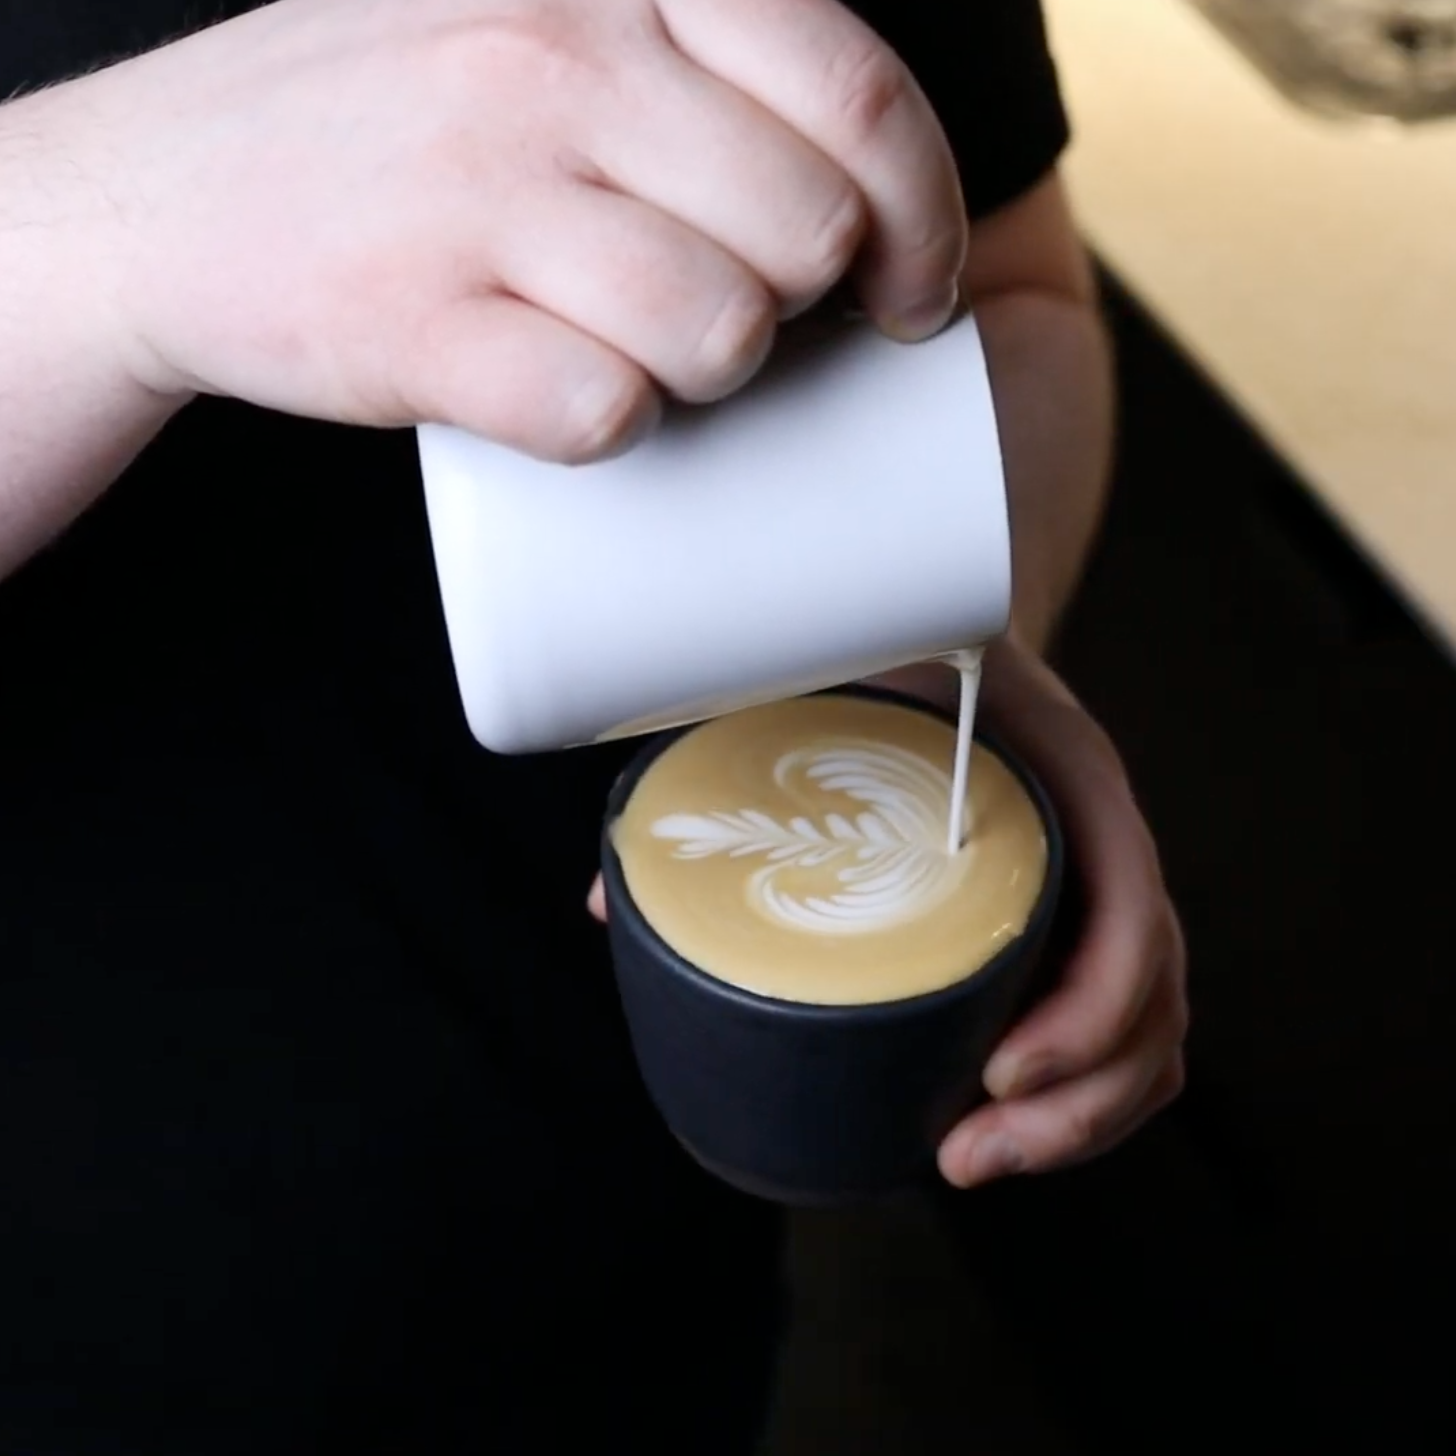
The goal is to create a beautiful pattern at the top of the coffee cup. The pattern should be perfectly white on a brown surface. We achieve this by pouring the milk at two different heights.
Pour in two heights
We start by raising the brown layer. We do this by pouring the milk from about 10 cm above the cup.
When we pour from high up, the milk comes down below the surface and forms a layer under the brown surface of the coffee.
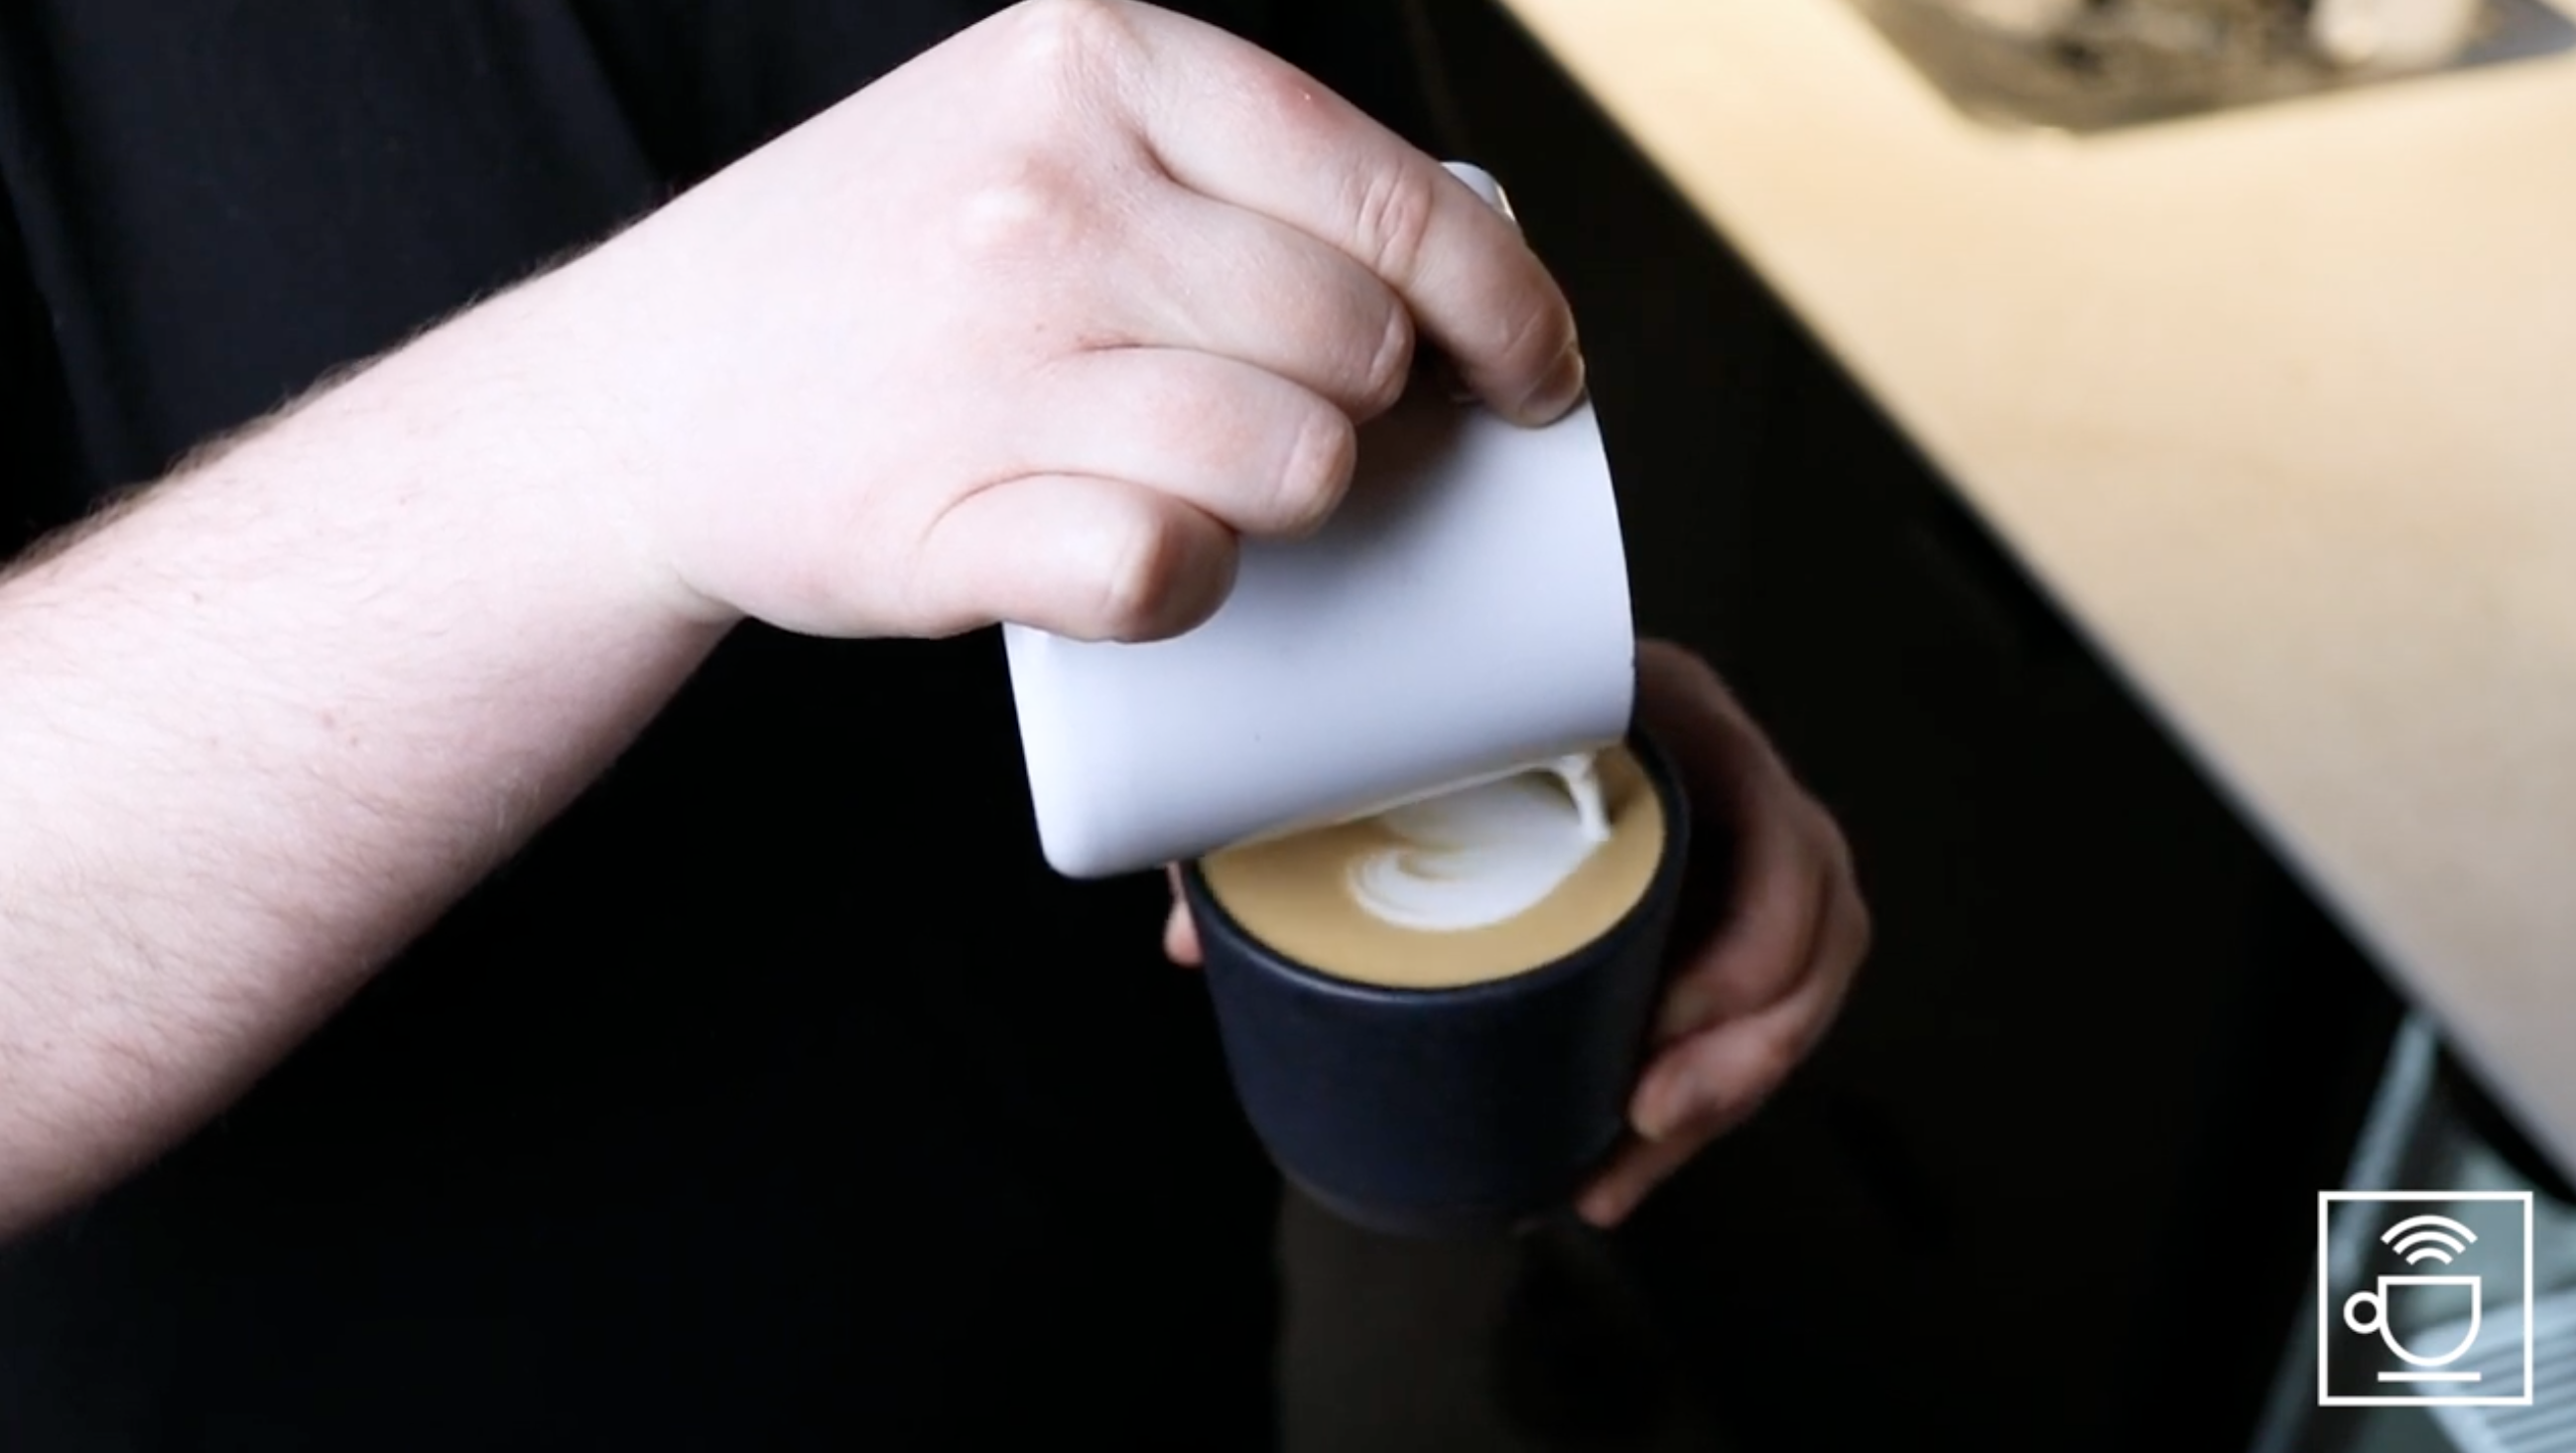
When we pour close to the surface of the cup, the milk sits on top of the coffee and we can create the pattern.
We therefore pour best by starting by pouring high from above in circles. When we have reached the point where we need to make our design, we tip the cup a little bit so that the brown surface of the coffee comes out completely and touches the edge of the cup. Then we put the pitcher very close to the cup and pour a little more forcefully. This will give us the white pattern on the coffee.
Pattern placement
In terms of placement, you usually want the pattern to be placed in the middle of the cup. This is best done by paying attention to the placement of the spout.
- If the spout is placed on the side, we draw the pattern around.
- If the spout is placed too far back, the pattern will hit the back wall.
- If the spout is placed too far forward, the pattern will be elongated.
Therefore, find approximately the middle of the cup and pull back a little. This will ensure that the pattern is roughly in the middle.

Examples
The heart
- Brew the espresso and steam the milk. Make sure to rotate the espresso slightly so that the crema has an even surface. Do the same with the milk.
- Pour high from the top first and raise the brown surface.
- Stop pouring and get very close to the cup.
- Pour until a small circle forms around the beam, then lift and draw through. This creates the heart.
Note : Be aware that as we pour more and more foam into the coffee, we must pour more and more forcefully. Then the pattern will continue to develop.
Tip : When you have your brown surface and the milk is close to the cup, adjust from tilted cup to horizontal while pouring out to the pattern. When pouring through the heart, lift the pitcher away from the cup again.
The heart is one of the simpler designs to make, and this is where we recommend starting.
Examples
The tulip
This pattern is small elements of the heart - that is, small white blobs - laid out in the cup and finally poured through.
- First, the brown layer is raised again with circles poured high from the cup.
- Stop pouring and place the pitcher very close to the cup and pour a little more forcefully.
- Pour off a few turns before lifting and pulling through.
The good thing about this design is that you pour in small batches, which makes it easier to adjust how many layers you want to make.
Important : Don't get frustrated if it's hard at first. It takes practice and even the best make mistakes.
Examples
Rosetta
This pattern is a little more complicated. Here we need to incorporate a back and forth motion with the milk pitcher of about 1 cm. The motion may be a little loose (see video).
In addition to the element of movement in the pitcher, the rosetta is also a little more difficult because you pour back into the cup. So the pattern is in one movement, just like the heart.
As always, start by raising the brown layer.
When lowering the pitcher and starting to pour the pattern, start the loose side-to-side motion, and slowly pull back into the cup while pouring.
Finally, the pitcher is lifted and the pattern is drawn through.
Play with it
These designs are the basic principles of latte art. You can easily combine the different patterns. For example, you can add the back and forth movement from the rosette to our heart or tulips, and give them a new expression. From here you can play with it yourself and practice.
Of course, remember that it's about being able to make something nice for our guests. So practice and be patient - it takes time and many attempts to get good at it.
Tip : Use what you just poured to analyze: What can we do better, what can we change so that it fits right in the cupboard? What needs to be different so that we have a nice white pattern in the middle of the cup?
Have fun!
Next step:
Skip to STEP 4: Advanced espresso brewing
You'll want to read more about espresso brewing to get all the nuances:
Back to learning center
Discover
See a selection of our coffees from around the world