


STEP 4: Advanced espresso brewing
When it comes to fine-tuning the nuances of your espresso, it’s good to have a starting point. This step will take you through an example of the adjustment process based on our standard recipe:
20g in, 40g out, 28 seconds
As always when tasting espresso, it is important to let the temperature drop a little in the cup before tasting. The heat prevents you from tasting all the nuances.
Listen to Jakob talk about advanced espresso brewing:
Example of espresso adjustment
In this example, the taste of the espresso is nice and balanced. The coffee has a bit of sweetness, but also a hint of acidity and bitterness at the end. We can try to adjust this a little in the following way:
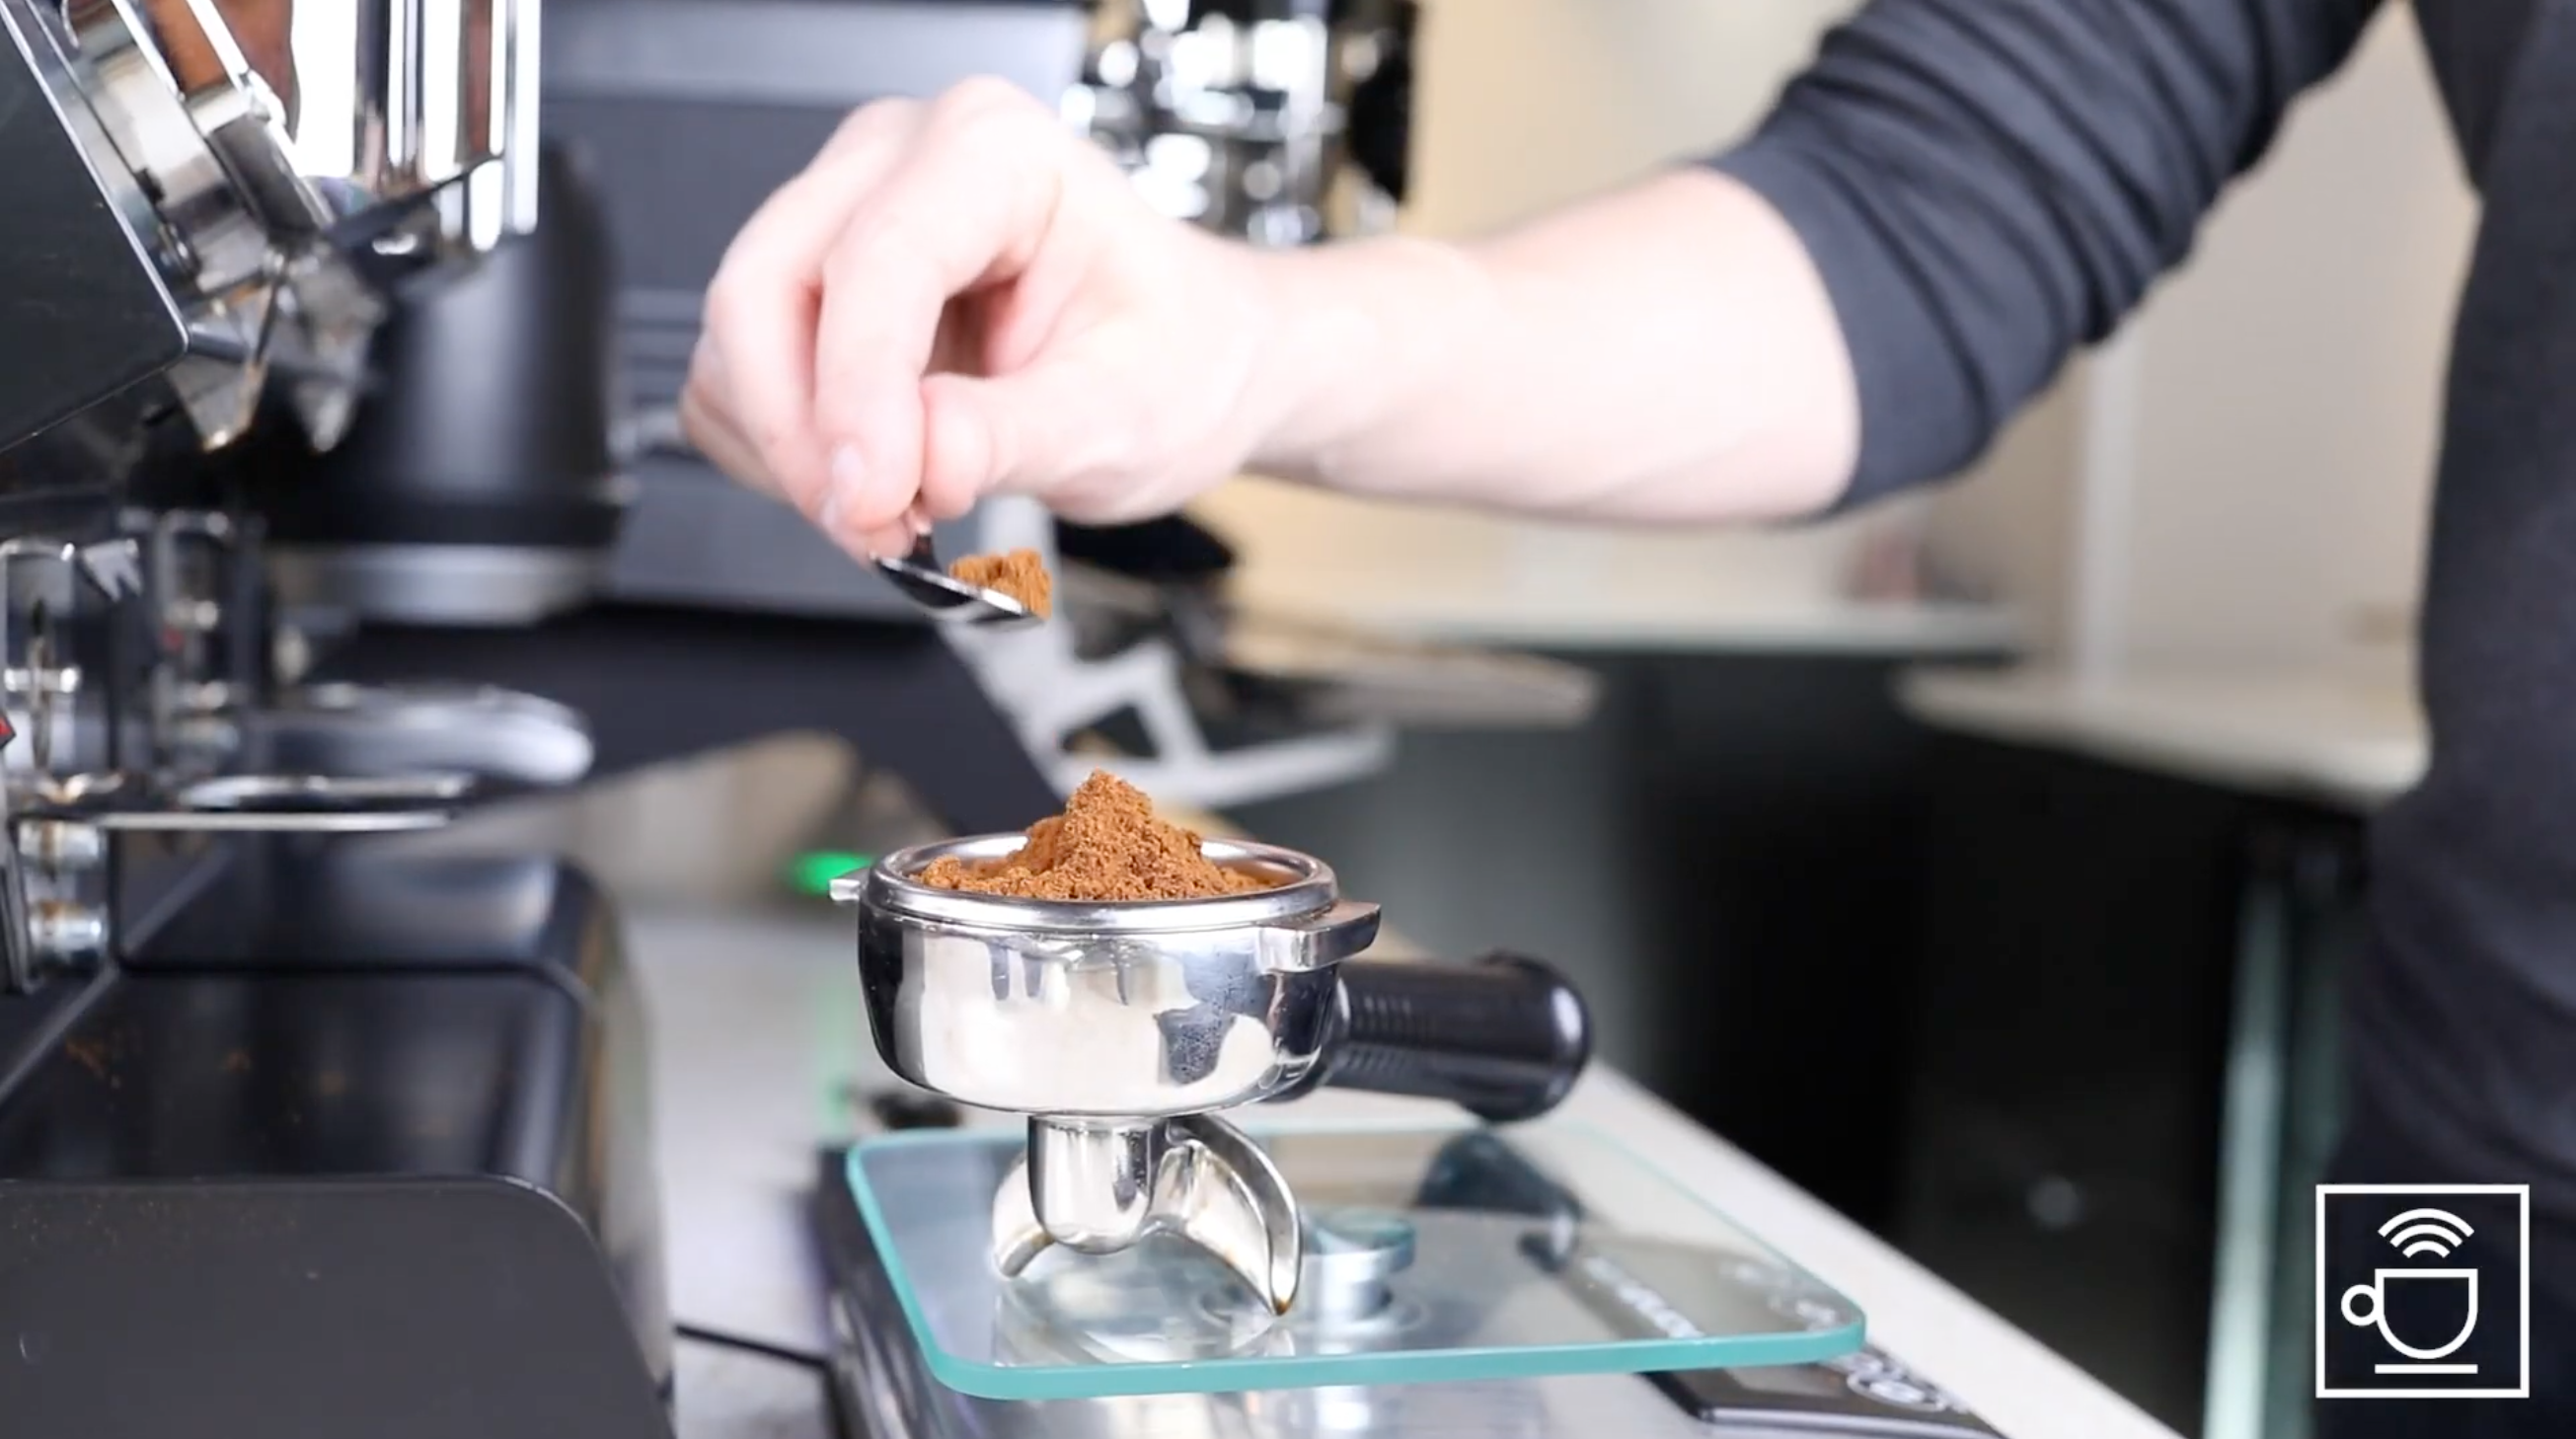
First, start by adjusting the dosage.
As previously pointed out, you only need to adjust one element at a time. Here we first try to add a little more coffee to the dosage, because the bitterness is something that comes at the end of the extraction. By having more coffee in the dosage, there is a little more to brew, and thus we avoid over-extraction. The next espresso is therefore brewed at 21g, but with the same setting on the grinder.
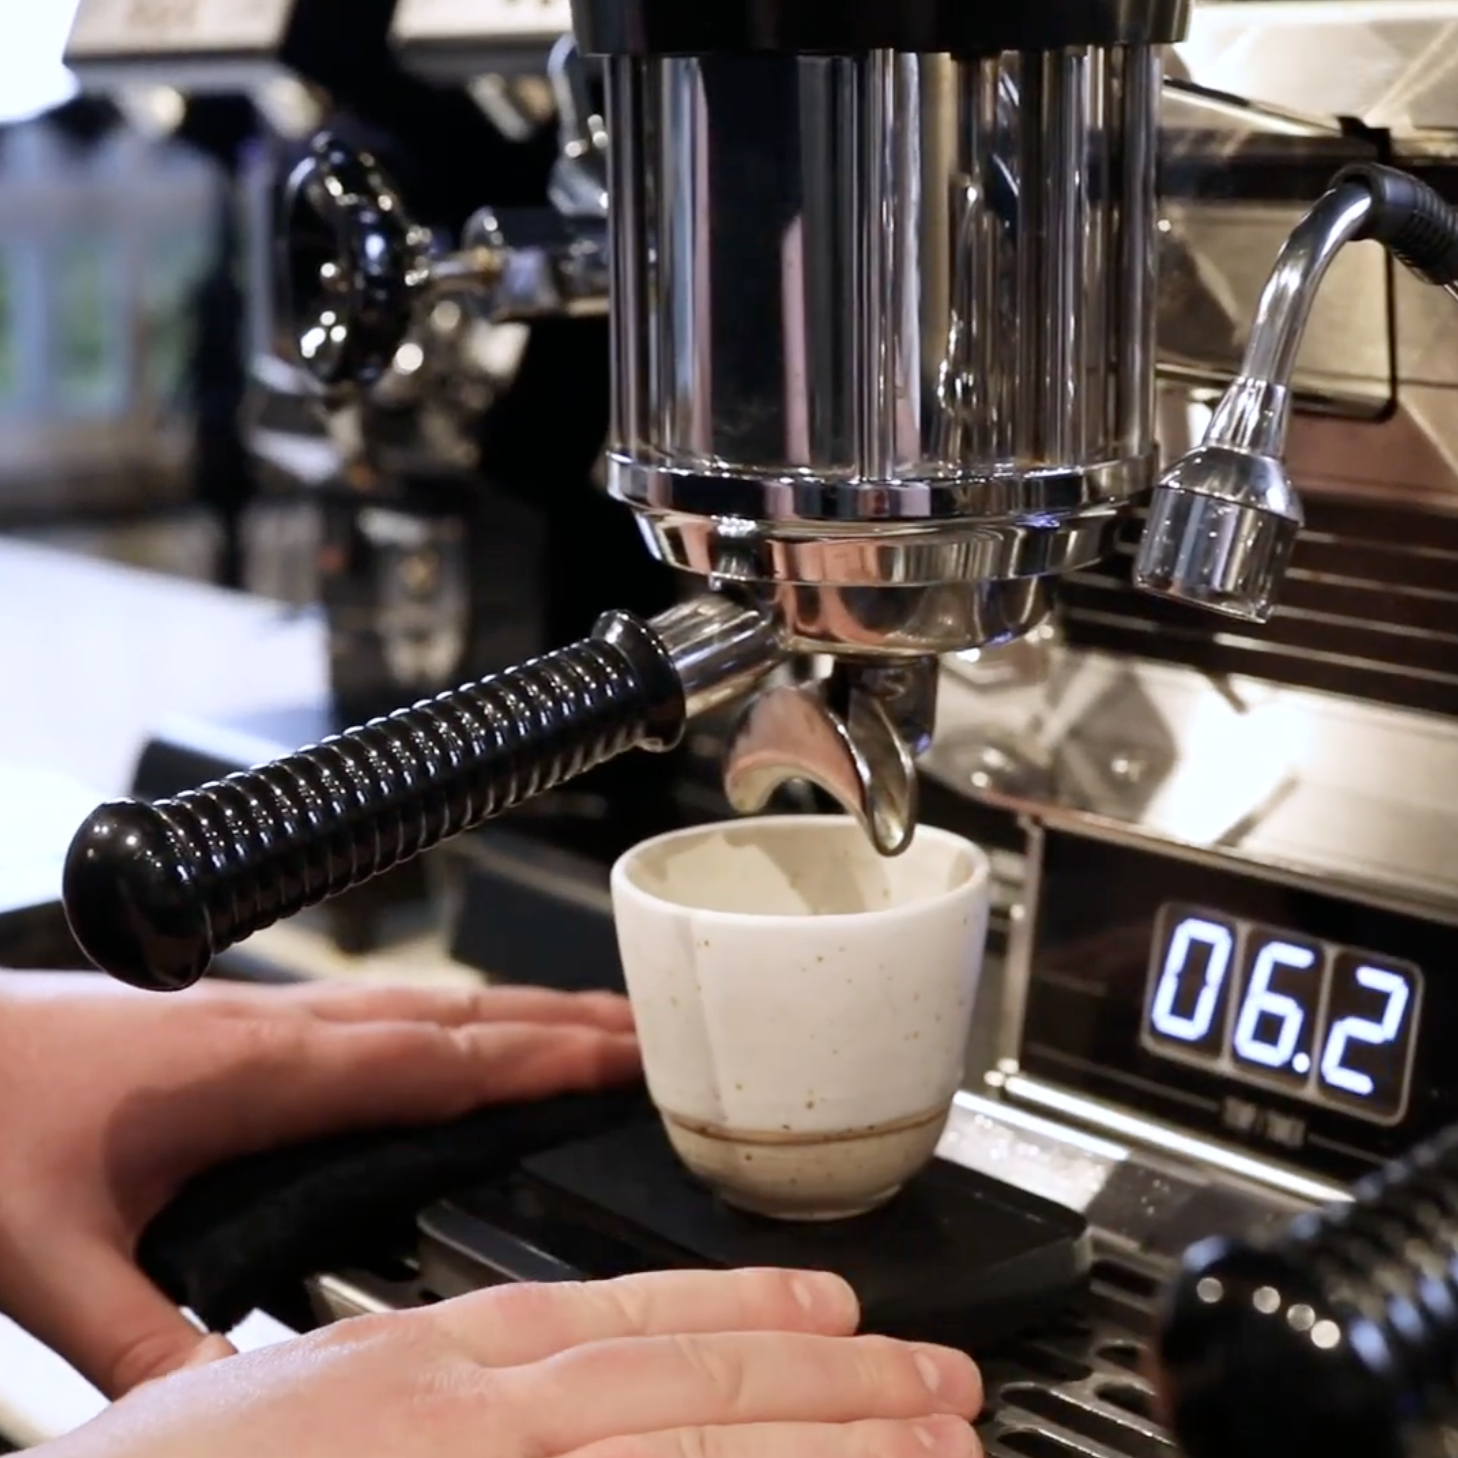
The result :
The espresso runs through in about 29 seconds, which is fine. In general, for espresso there can be a little difference in time, and if the optimal is 28 seconds, then 29 is also acceptable. Again, let the espresso cool down a bit before smelling and tasting.
This espresso has less bitterness than the first. There is still plenty of sweetness in the taste, but the acidity has changed . There is now a little too little acidity in the taste, which makes the espresso a little too intense and heavy.
To balance this espresso we can:
- Changes the grinding degree - i.e. how fine or coarse the coffee grinder grinds the coffee
- Changes the liquid - how much liquid is extracted from our espresso.
An espresso is now brewed with the same parameters: 21g in approx. 28 seconds. However, the setting on the grinder is changed so that the coffee is a little coarser. Now we can try to extract 44g of liquid - instead of 40g - in order to give the coffee a little more clarity in taste.
Flush a little (run coffee through the grinder that is not being used) before weighing to 21g, to avoid coffee from the old grind.
The espresso is now brewed with 21g in the basket, 44g in the cup in 28 seconds.
The result:
An espresso with a fairly intense flavor , but with a balance between sweetness and acidity. There is not the same dryness as in the first cup and on the other hand more clarity than in cup number two.
So the change with more liquid at the same time has helped and provided a really good idea for an espresso recipe for this coffee.
General tips for espresso adjustments
Adjustments to the espresso - whether in water, grinder, amount, time - always have an impact on the taste.
If you adjust the amount of dry coffee - the one that is put in the portafilter in the machine - a higher dosage will result in more acid and body from the coffee , as we have a larger amount of coffee to pull through the same amount of liquid.
By adjusting the amount of liquid, you can achieve roughly the same effect : If you make an espresso shot that is slightly smaller, it will create the same result, as less liquid is drawn through a given amount of coffee.
If you want the opposite effect - more clarity and sweetness - this can be done by the opposite strategy: Either by having a smaller dosage of coffee in the filter or by drawing more liquid through the cup. The risk with this, however, is that you may get a little more bitterness and lose a little body in the coffee.
Listen to Jakob talk more about advanced espresso brewing:
Now we have tried to test how adjusting the amount that comes in and the amount that comes out affects the coffee. Now let's try adjusting the grinder instead.
By adjusting the grinder, you also adjust the time it takes for the coffee to run through:
- If you grind the coffee coarser, it will run through faster.
- If you grind finer, it will run through more slowly.
For the example, we will maintain our standard recipe of 20g in and 40g out.
Coarser
We will now try grinding the coffee a little coarser. When we do this, the grinder does not need to be running while we adjust it.
The coffee flows through faster after this adjustment and this naturally affects the taste.
The result :
The coffee ran through in 24 seconds. It still has 40g in the cup. In this espresso, the taste has a distinctly stronger acidity , it is less balanced than cup number one in the standard recipe from the last part of the course. In general, the coffee is a bit off the mark - i.e. does not taste optimally - because it ran through too quickly.
This is a good indication of how this coffee will perform. Some coffees can run through faster than others, so it's a good idea to test. This coffee has a little more acidity, it's not as well integrated, almost sour, and lacks the sweetness that the coffee usually has.
The conclusion is that this espresso recipe is not optimal for the coffee.
Finer
We then adjust the other way around from our standard recipe: grinding the coffee finer. In our case, the coffee will now brew in about 30-32 seconds instead of the 28 that is our standard.
When adjusting the grinder to a finer setting, it is a good idea to leave the grinder running while you adjust it. Otherwise, the coffee particles can get pressed between the grinding blades, which is not good for the grinder.
Tip : pay attention to your weight when changing the grind of your coffee. The grinder spits out different amounts of coffee due to the adjusted grind. Therefore, it is good to double-check the weight of the coffee - in this case, we still need to hit 20g.
The coffee now flows through more slowly because the finer grind provides increased resistance to the water. It will therefore take longer to reach 40g in the cup.
Note : Always pay attention to when you stop the espresso machine. In general, with espresso, where the grinding degree is changed, you should pay special attention to when you stop the machine. It is often not enough to stop when the scale says 40g. Then a little will still run through before the machine stops, and you will thus exceed 40g. Here, the machine is stopped when the scale says 36g. So the last of it runs through and the scale ends up at 40g. Get to know your coffee machine and the coffee to know when to press stop optimally.
Tip : Espresso layers, so remember to stir the cup so that it all integrates before you taste.
The result :
Compared to the standard recipe, this espresso - at 20g in, 40g out and 32 seconds - has more sweetness , a bit more dryness and bitterness at the end. It is a bit less complex . However, it seems more balanced because we have ground the coffee finer. By doing so, we can tame a bit of the acidity.
The optimal thing with this coffee bean would be to draw a little more liquid through, so that we reach 44-46g in the cup with the approximately 28 seconds specified in the standard recipe.
The result of this brew is a little too intense for the balance. By turning up the liquid we can get a coffee that is a little more drinkable. It will still have a nice sweetness, but will have a better balance.
More liquid
First, we set our grinder to grind a little coarser than the standard recipe because we want to get more liquid through.
Tip: Remember to flush out a little coffee so that it is not brewed at the old grind level.
The result :
An espresso of 46g out, 20g in, but brewed in 28 seconds.
This recipe makes a really good espresso.
It is intense, as espresso should be, has a nice sweetness and good balance with the acidity . It is not bitter and does not have sour notes. The coffee's own flavor stands out clearly , and all in all this espresso gives a good representation of the bean in the machine.

Let your sense of taste guide you
When adjusting your coffee, always let your sense of taste guide you. The best coffee is the one you think tastes good.
We can give guidelines, but we can't say how each coffee will taste to you. So try starting with our standard espresso recipe and adjust from there.
We recommend starting by adjusting the length of the shot - i.e. the amount in the cup. Then you can adjust the grind level and finally you can try adjusting the amount of coffee.
Note : adjusting the amount of coffee will affect the other variables in the recipe. We must therefore always adjust back if we change the amount of the shot.
Enjoy.
Back to learning center
Discover
See a selection of our coffees from around the world